Sunday, November 27, 2016

Blueberry and almond galette

This is a rustic free-form tart - called a galette in France and a crostata in Italy - either way it’s delicious.  The recipe is from the South African blog The Pretty Blog by The Food Fox - one of my favourites.  Use seasonal fruit - I’ve used blueberries here but peaches are perfect with the almond paste or you can use nectarines or plums - pretty much whatever fruit is fresh and easily available except for strawberries or bananas.  It’s a real dinner party winner - buttery, flaky pastry enveloping an oozing almond paste centre along with slightly tart and soft fruit on top - the flavours are simple and intense and quite delicious.  

If are in a rush you can use a good quality shortcrust pastry (made with real butter) and some shop bought marzipan and you can have it in the oven in less than 10 minutes.  This recipe makes enough for two galettes.


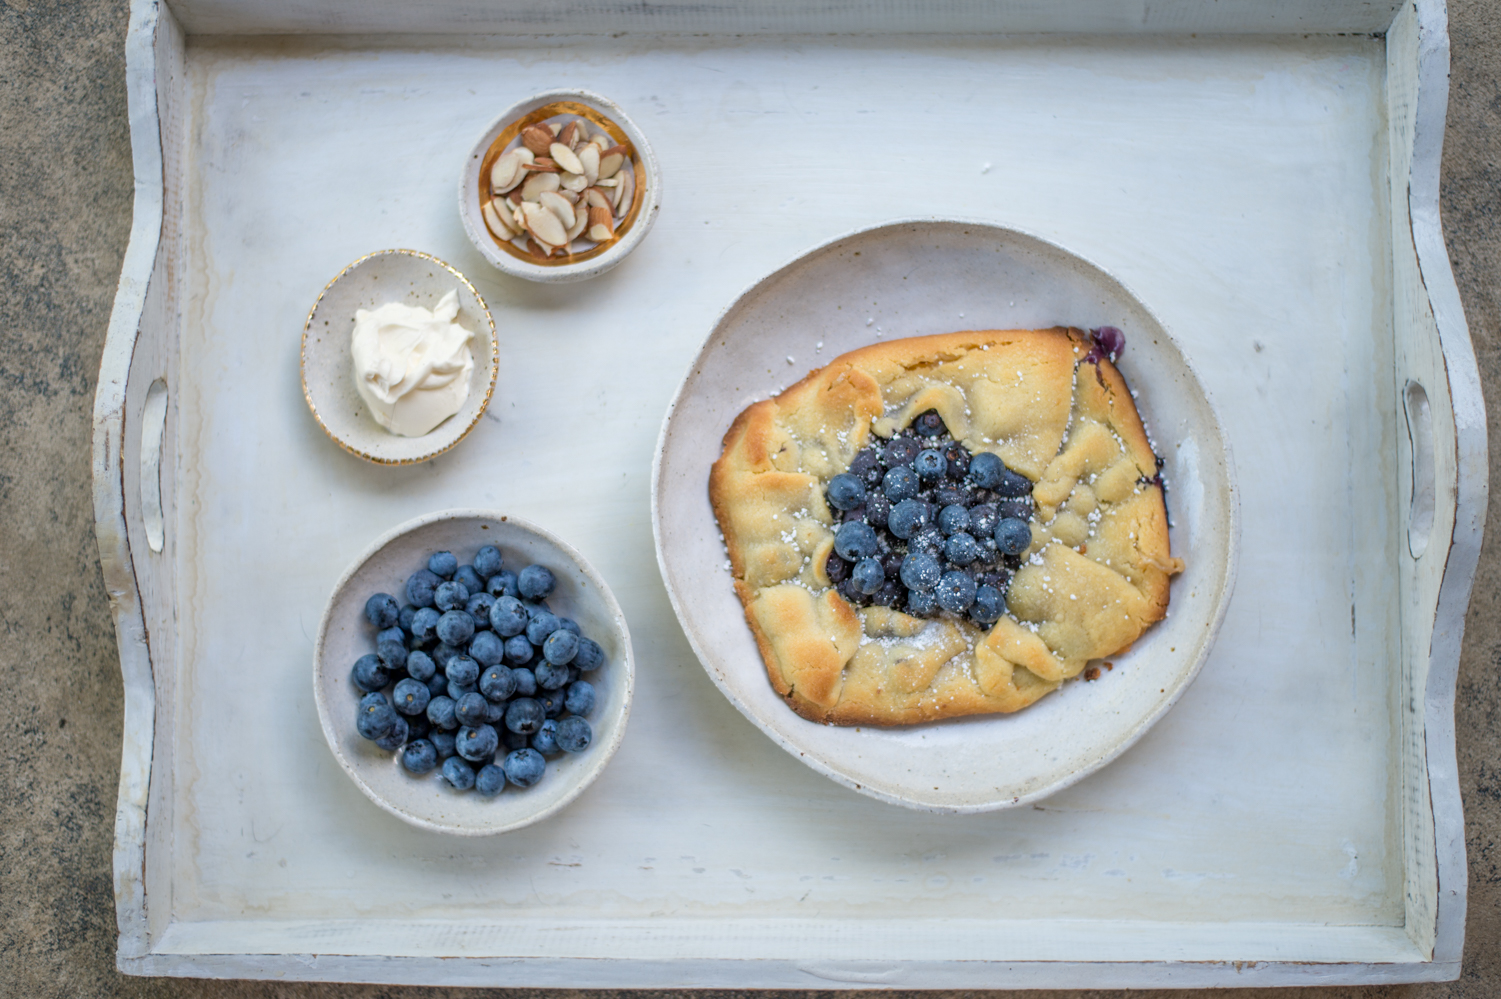
Fruit and almond galette

Ingredients

For the almond paste (or substitute 1 cup marzipan)

100g ground almonds
250ml Icing sugar
¼ tsp almond essence
1 medium egg white, lightly whisked

For the pastry (or use a packet of good quality sweet shortcrust pastry)

2 cups plain flour
¼ cup caster sugar
½ tsp salt
250g cold butter, diced
1/4 cup Ice cold water

For the filling 

1 1/2 cup blueberries  (or other seasonal fruit)

To make the almond paste, put all the ingredients except the egg white in a food processor.  Add half the egg white and pulse until it comes together into a ball. Add a little more egg white if you need to.  Form the almond paste int a ball (or the marzipan if you are using it) with cling wrap and freeze for at least two to three hours. It won’t freeze solid because of the sugar content, but you need it to be hard enough to grate.

To make the pastry, place the flour, sugar, salt and butter in a food processor.  Pulse until it resembles breadcrumbs, then add the icy water all at once while the motor is running.  As soon as the dough starts to come together, remove it from the bowl onto a lightly floured surface and press into a disk shape, then cover with plastic wrap and refrigerate for at least 30 minutes to firm up.

Pre-heat oven to 220C. Roll out the pastry on a floured surface to a thickness of about 5mm. 
Transfer onto a large baking tray lined with baking paper. Coarsely grate the frozen almond paste/marzipan all over the brushed egg pastry surface, then cover with blueberries.  Fold the edges over carefully, keeping the look of the edges rustic. 

Bake for 25 minutes or until golden brown. Remove from oven and cool on a wire rack.  Serve warm or at room temperature with crème fraîche or vanilla ice cream.


Cherry marzipan scones

These are rather posh scones and are a little more fiddly than usual but are ideal for a treat or of course for tea on the verandah with Hugh Grant and Colin Firth ….

This recipe is from a food blog called the Bonjon Gourmet and I’ve been waiting impatiently for cherry season to try it out.  I love the almondy flavour of the scone dough and the cherry sandwich layer becomes quite oozy and jammy.  You could probably use tinned cherries, but you’d need to squish quite a lot of the liquid out of them first.


Cherry Marzipan scones

Ingredients

1/2 cup fresh marzipan, crumbled
2 tablespoons sugar
2 cups plain flour
1 tablespoon baking powder
1/2 teaspoon salt
5 tablespoons cold, unsalted butter, in 1/2″ cubes
3/4 cup plain greek yoghurt
1/2 teaspoon almond extract
1 cups fresh sweet cherries, pitted and quartered:
1-2 tablespoons milk
a small handful of sliced almonds (preferably unblanched)
1 tablespoon brown sugar

Using a food processor, combine the marzipan, sugar, flour, baking powder and salt. Pulse to combine and break up the almond paste. Add the butter, and pulse until the mixture resembles sand. Add the yoghurt and the almond extract, and pulse just until the mixture begins to form a ball.

Put the dough out onto a lightly floured surface, dust the top lightly with flour, and roll into a 12 by 8″ rectangle, turning and flipping the dough, dusting with flour as needed to prevent sticking.
Lay the prepared cherries over half the dough. Fold the other half of the dough over the cherries, and press down gently but firmly (this will help the cherries stay in place when you slice and move the scones). Freeze the whole thing until fairly firm, but not frozen, 20 minutes.

Put a rack towards the top of the oven and preheat to 210ºC. Line a heavy baking tray with parchment paper, and stack it on top of a second heavy baking sheet (this helps to stop the scones from burning on the bottom).

Trim away the outer 1/4″ from each side of the scone, then cut into 12 squares. Brush the tops with milk, sprinkle with the almonds, pressing them lightly into the scones, then sprinkle with the coarse sugar.

Transfer the scones to the baking tray, spacing them at least 2 inches apart. Bake the scones until they are golden brown on top, 18-20 minutes.  Serve warm with cream or creme fraiche.


Thursday, September 29, 2016

Key lime pie

The name “Key Lime Pie’ has always made me think of Jamaica and the West Indies, of hot summer days and azure seas and the scent of lime blossom in the night air.  As we’ve had rather a cold spring here, I thought I’d give it a try, and it’s deliciously refreshing and very easy to make.

This is a combination of a couple of recipes I found.  You can use most types of sweet, crunchy biscuits for the base - I used Nutikrust caramel flavoured, but they are quite sweet so next time I’ll probably go back to good old digestives or ginger nuts.  I also used the ‘less sugar’ variety of Nestle condensed milk which had the perfect amount of sweetness to counteract the lime juice.


Key Lime Pie

300g digestive biscuits/ginger nuts etc
1/4 cup ground almonds
100g butter melted

1 x 397g tin condensed milk
3 medium egg yolks
finely grated zest and juice of 4 limes

double cream, whipped
extra lime zest, to decorate

Heat the oven to 160C/fan 140C/gas 3. Whizz the biscuits to crumbs in a food processor (or use a pestle and mortar or put in a strong plastic bag and bash with a rolling pin). Mix in the almond meal and melted butter and press into the base and about 4 cm up the sides of a 22cm loose-based tart tin. Bake in the oven for 10 minutes. Remove and cool to room temperature.

Put the egg yolks in a large bowl and whisk for a minute with an electric beater. Add the condensed milk and whisk for another 3 minutes then add the lime zest and juice and whisk again for 3 minutes. Pour the filling into the cooled base then put the pie back in the oven for 15 minutes. Allow the pie to cool, then chill for at least 3 hours or overnight if you like.

When you are ready to serve, carefully remove the pie from the tin and put on a serving plate. To decorate, dollop the cream onto the top of the pie and sprinkle with the extra lime zest.


Tomi's Mexican Cornbread

Cornbread is part of traditional American cuisine, and is particularly associated with the South and Southwest US. It is usually eaten with a barbeque or with chili con carne.

In the United States, northern and southern cornbread are different because they generally use different types of corn meal and varying degrees of sugar and eggs. Southern cornbread has traditionally been made with little or no sugar and smaller amounts flour or no flour, with northern cornbread being sweeter and more cakelike. Southern cornbread traditionally uses white cornmeal and buttermilk. In Texas, the Mexican influence has resulted cornbread made with fresh or creamed corn kernels and jalapeño peppers.

I hadn’t eaten ‘proper’ cornbread (I make an easy cheesy mealie bread which is similar but not as delicious), until Tomi (who’s from Kansas) made some for us and I realise how perfectly it goes with a braai or a chilli con carne.  This recipe is based on one from Paula Dean which I’ve adapted a bit by using self raising flour and an extra egg and cutting down the amount of baking powder.  I’ve also cut down on the amount of sugar, although the sweeter version is also very nice.  Try to use yellow cornmeal or mealiemeal as it gives the finished cornbread a lovely, golden colour.  


Mexican cornbread

Ingredients

1 cup yellow cornmeal (polenta) 1 cup self-raising flour, sifted 1 tablespoon sugar 2 teaspoons baking powder 1/2 teaspoon salt 2 large eggs 1 cup buttermilk 1 can creamed corn 1/4 cup vegetable oil 1/4 cup chopped jalapeños, or to taste 1 1/2 cups cheddar cheese (grated) 1 small onion, finely chopped


Preheat oven to 200°C (180 fan forced). Grease an 8-inch square pan well with butter and put in the oven until really hot.
In a medium bowl, combine the cornmeal, flour, sugar, baking powder and salt. Add the beaten eggs, buttermilk, creamed corn, oil, and onion and mix until smooth. Pour half the batter into the prepared pan and sprinkle with the cheese and jalapenos. Top with the remaining batter. Bake for 20 to 25 minutes, or until golden. Serve warm straight from the pan.


Saturday, August 6, 2016

Port-poached cherry and chèvre cream chocolate tarts

I've adapted this recipe from one I found on Pinterest from a blog called The Bonjon Gourmet - it looked delicious and it actually tastes even more delicious than it looks.  I was a bit unsure about using the goat's cheese in a sweet dish but when combined with the cream and a little sugar it really complements the sweet port-poached cherries, with almost a cheesecakey taste.  I think this recipe would actually work really well with a biscuit crumb (see my cheesecake recipes) instead of the pastry, so I'll try that next time.   In fact, just the cherries and the chèvre cream would be great on their own if you want to simplify things.


Port-poached cherry and chèvre cream chocolate tarts

Makes six small tarts, or 1 large tart

Port-Poached Cherries :

1 1/2 pounds fresh cherries, stemmed and pitted
1 1/4 cups ruby port
1 vanilla bean, split lengthwise and scraped
6 tbsp sugar

Chocolate pastry :

1 cup plain flour
3 tbsp Dutch or dark cocoa powder
¼ cup icing sugar
120g chilled butter, chopped into cubes
1-2 tbsp iced water

Chèvre Cream :

3/4 cup crumbled, soft, fresh goat cheese
3/4 cup fresh cream
1 tbsp sugar
seeds from 1/2 a vanilla bean

Combine the pitted cherries, port, vanilla pod and scrapings, and sugar in a large stainless steel frying pan.  Bring to a simmer over medium heat, then reduce the heat to low and simmer, swirling the pan occasionally, until the cherries are just tender (about 10 mins).

Strain the cherries into a heat-proof bowl.  Return the juices to the pan and simmer gently until they are thick, and syrupy for about 5 minutes, swirling the pan occasionally.  Let the cherries and the syrup cool to room temperature, then chill in the fridge for an hour.  (You can keep the cherries in their syrup for a couple of weeks in the fridge).

Preheat the oven to 350ºF. Place six 3 small tart pans (the kind with removable bottoms) on a baking sheet. 

Put the flour, cocoa, sugar and butter in a food processor and whiz until it forms a breadcrumb consistency. Add the water and pulse until the mixture starts to form clumps. Tip it out onto a cool bench top and squash together then pat into a round. Refrigerate for 15 minutes then roll out between two sheets of baking paper.  Cut out rounds to fit the tart shells and press into the shells. Freeze the shells until they are firm, at least 15 minutes.

Line the shells wiht baking paper and baking weights or uncooked rice and bake until they are dry and fairly firm to the touch, for about 15 minutes. Let the tart shells cool completely. Store them in their rings for protection until ready to serve.

In a bowl, mix together the goat's cheese, cream vanilla seeds and sugar until stiff peaks form (don't over whisk it - if it starts to turn grainy add some more cream).

Put a spoonful of the chèvre cream each tart shell, top with the cherries and pour over a little juice.  Serve immediately. 

PS Pitting cherries is very messy - wear a black shirt!  Cherry/olive pitters are cheap and simple to use and save lots of hassle.


Sunday, June 26, 2016

Risotto Primavera

Risotto primavera is a very popular spring dish throughout Italy, and Venice in particular. It’s a festival of Italian spring vegetables - in this case fennel, asparagus, and leeks - with creamy rice and the salty bite of parmesan.  Serve with prawns or chicken or just by itself.


Risotto Primavera 
(Risotto with Asparagus, Fennel, and Leeks)


5 cups chicken stock
1 tablespoon olive oil
1 tsp butter
1 cup thinly sliced leek (about 1 large)
2 cups thinly sliced fennel (about 1 large bulb)
1 1/2 cups uncooked Arborio rice or other short-grain rice
1/4 cup dry white wine
1 1/2 cups (1/2-inch) diagonally cut asparagus
1/2 teaspoon chopped fresh or 1/8 teaspoon dried rosemary
1/8 teaspoon black pepper
1/4 cup grated fresh Parmesan cheese
juice of half a lemon
handful of chopped parsley

The most important thing to remember when cooking risotto is that it has to be stirred all the time.  It only takes 15 minutes to cook, but make sure you have everything prepared and ready to add to the pot when you need it.  Taste occasionally - the rice needs to be just al dente - a little firm.

Bring the chicken stock to a simmer in a medium saucepan (do not boil). Keep warm over low heat.

Heat the olive oil and butter in a large saucepan over medium-high heat; add the leek and fennel, and sauté for 5 minutes or until tender. Add the rice, and cook for 1 minute, stirring constantly. Stir in the wine, and cook for 1 minute or until the liquid is nearly absorbed, stirring constantly. Stir in 1 cup stock, and cook until the liquid is nearly absorbed, stirring constantly. Add the asparagus, rosemary, black pepper, and remaining stock, 1/2 cup at a time, stirring constantly until each portion of the broth is absorbed before adding the next (about 15 minutes total). Stir in grated cheese, squeeze over some lemon juice and sprinkle with chopped parsley.


Tuesday, May 24, 2016

Persian love cake

I first tried this cake at a little cafe called "the pocket" on Moffat beach which serves some of the best coffee on the Sunshine Coast, mostly because I couldn't resist the name but also because I love pistachios - besides tasting delicious they are so pretty with their purply green colours, and the combination of flavours with the cardamom, cinnamon and nutmeg is rich and exotic.

This recipe is adapted from a recipe by Gerard Yaxley of Qöm Restaurant, originally published in Gourmet Traveller (I googled it :)


Persian Love Cake 

Ingredients

180 grams almond meal
110 grams demerara sugar
110 grams brown sugar
1/2 teaspoon salt
60 grams butter, softened
1 egg
125 grams Greek yogurt, plus extra to serve
1/2 teaspoon ground cinnamon
1/2 teaspoon ground nutmeg
1/2 teaspoon ground cardamom
5 tablespoons shelled pistachios, roughly chopped

Preheat the oven to 180C. Butter and line an 18 cm springform tin with baking paper.

Mix the almond meal, sugars and salt together in a bowl. Add the butter and rub it in with your fingertips until the mixture resembles coarse breadcrumbs. Spoon half the mixture into the prepared tin and press down with your fingers to cover the base evenly.

To the remaining mixture, add the egg, yogurt and spices, and beat with a wooden spoon until smooth and creamy. Pour this mixture over the base, and sprinkle on the chopped pistachios.

Bake until golden brown and just set, approximately 30 minutes.  Allow to cool completely in the tin on a wire rack.  Serve with extra Greek yogurt on the side.